Setting Up Kali Linux on Google Cloud with Chrome Remote Desktop
A step-by-step guide to setting up Kali Linux on Google Cloud and accessing it remotely using Chrome Remote Desktop.
If you’re looking to set up Kali Linux on Google Cloud and access it remotely, you’ve come to the right place! This guide will show you how to get Kali Linux running on Google Cloud and connect to it easily using Chrome Remote Desktop.
Create a Compute Instance
- Open the Google Cloud Console.
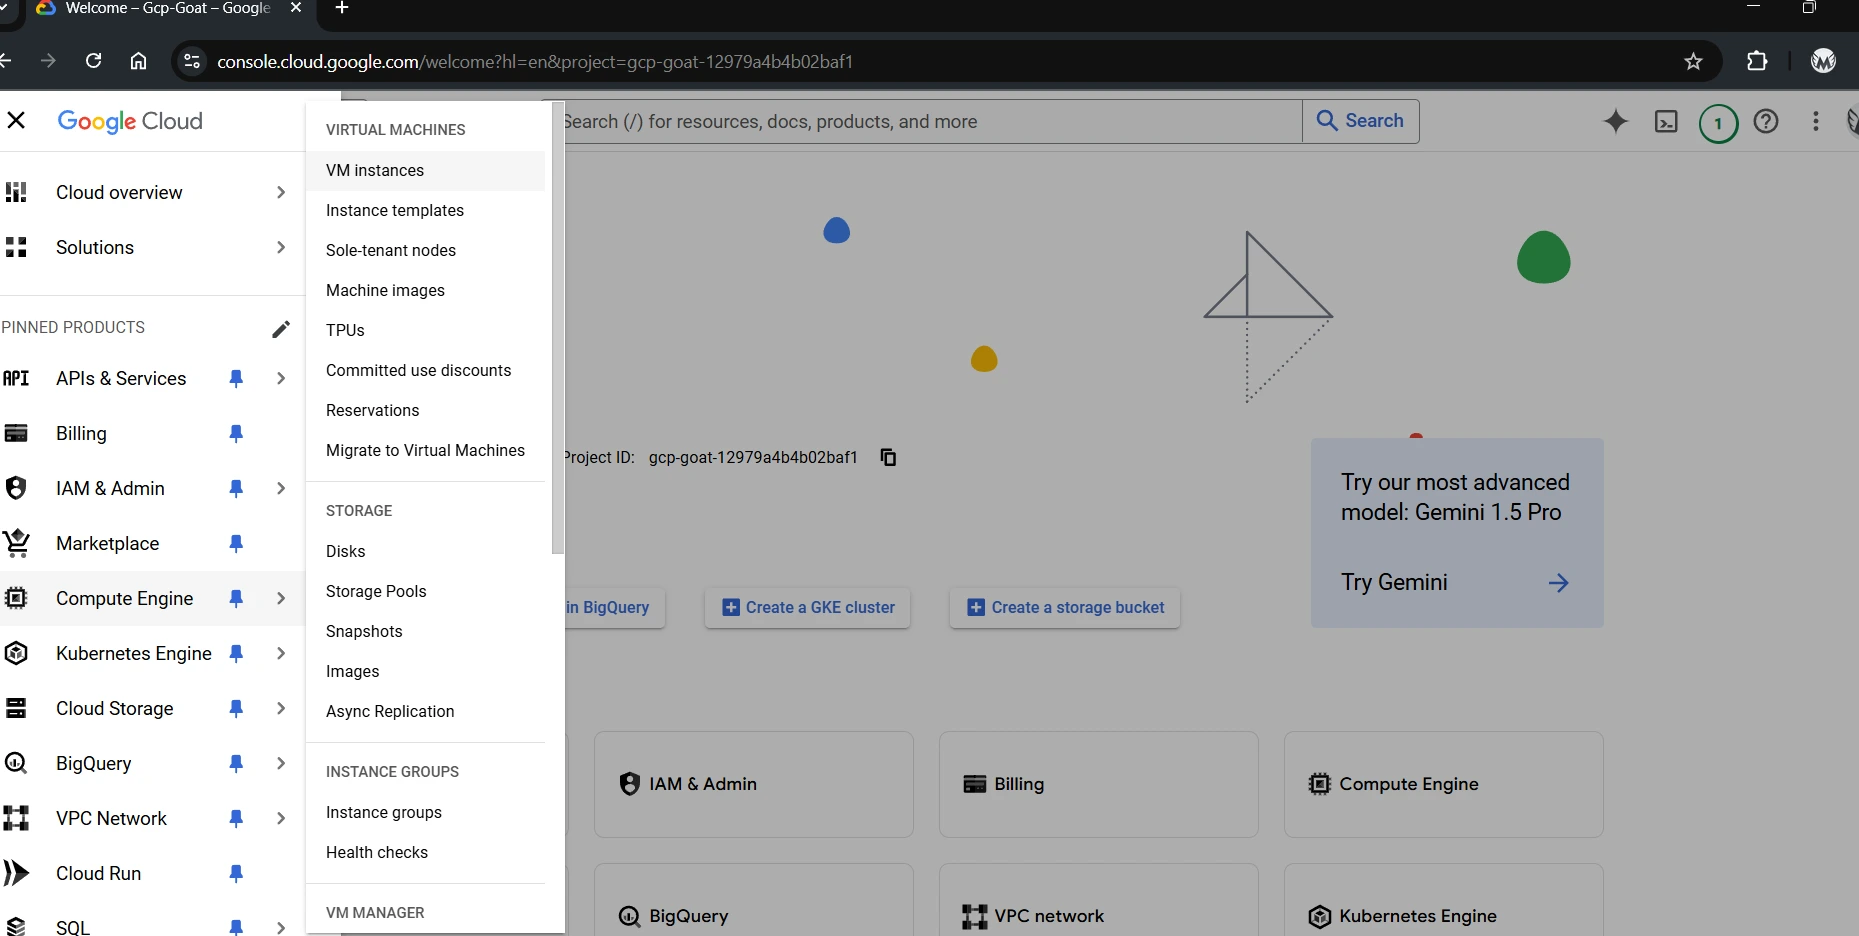
- Click on the left-side hamburger menu, then select Compute Engine.
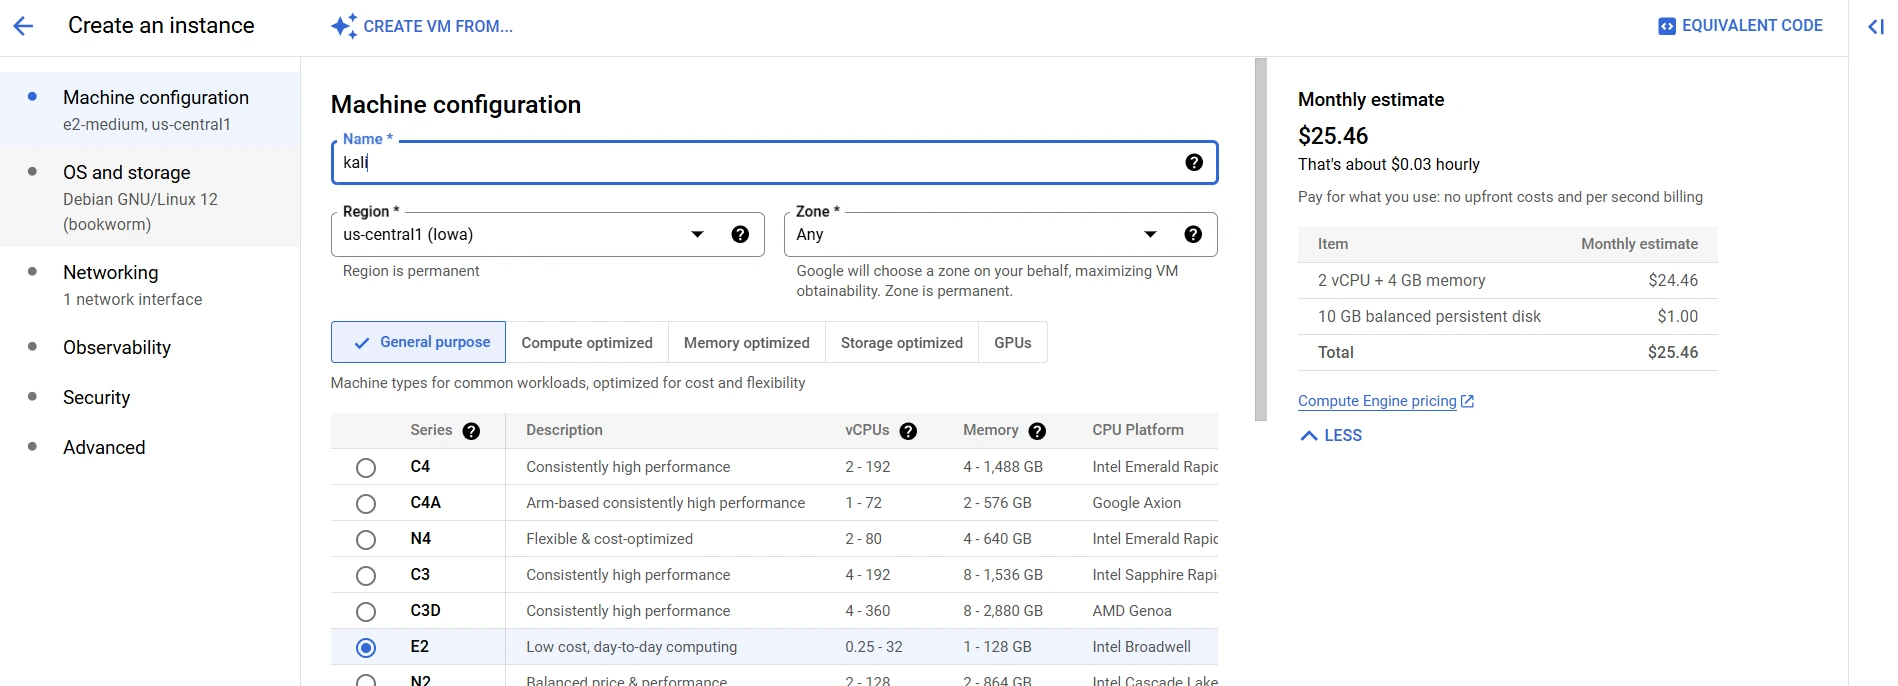
- Click on Create Instance.
- Give your instance a name (e.g.,
kali-webor whatever you like). This helps you identify it later. - Choose a region closest to you to reduce latency.
- Pick a CPU configuration based on your needs. Higher CPU cores improve performance but cost more.
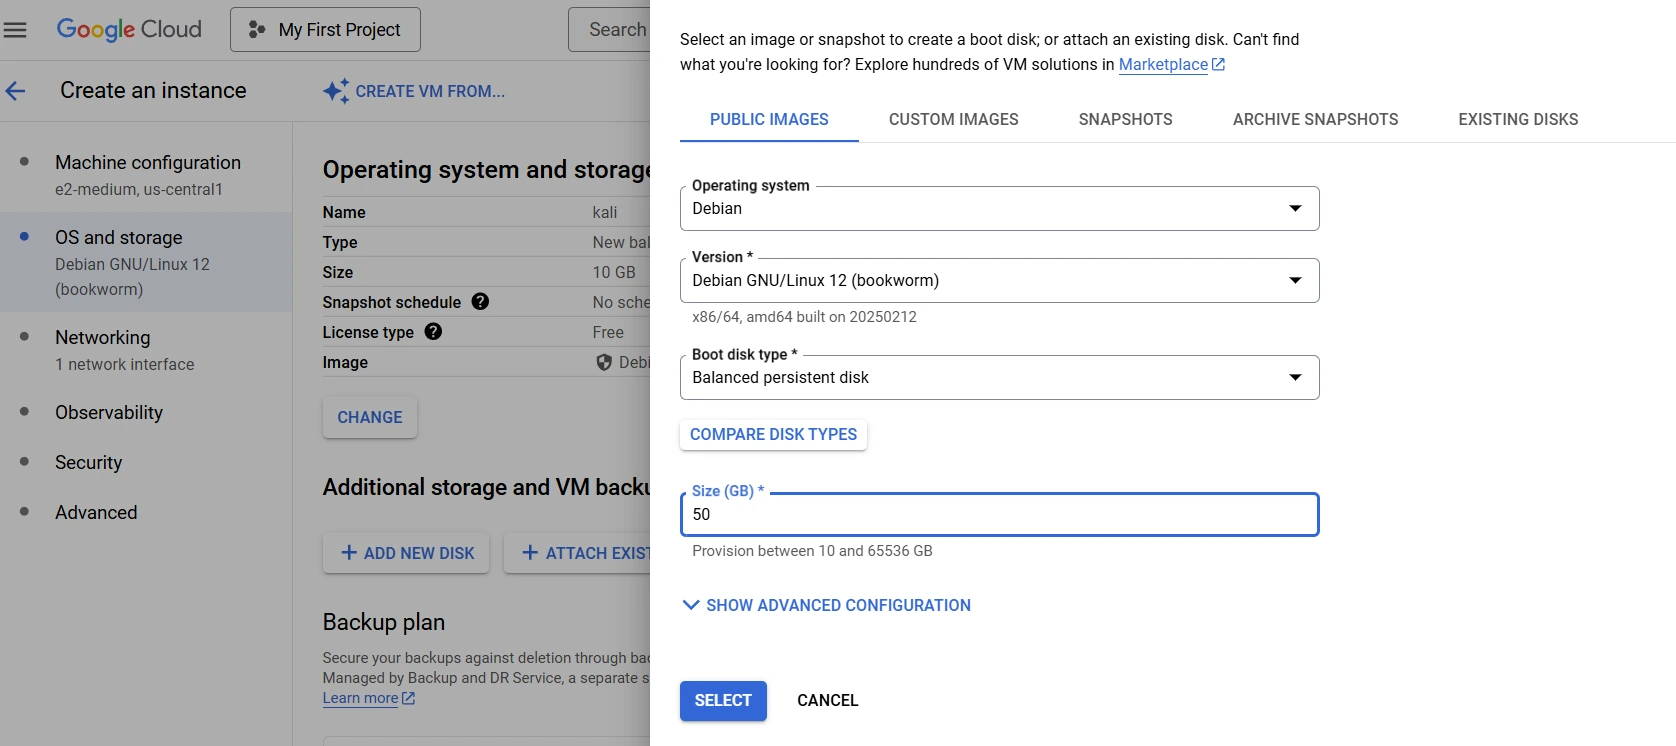
- In the OS and storage section, click Change and set the disk size to at least 50GB (or your preferred size). Kali needs more space for tools and updates.
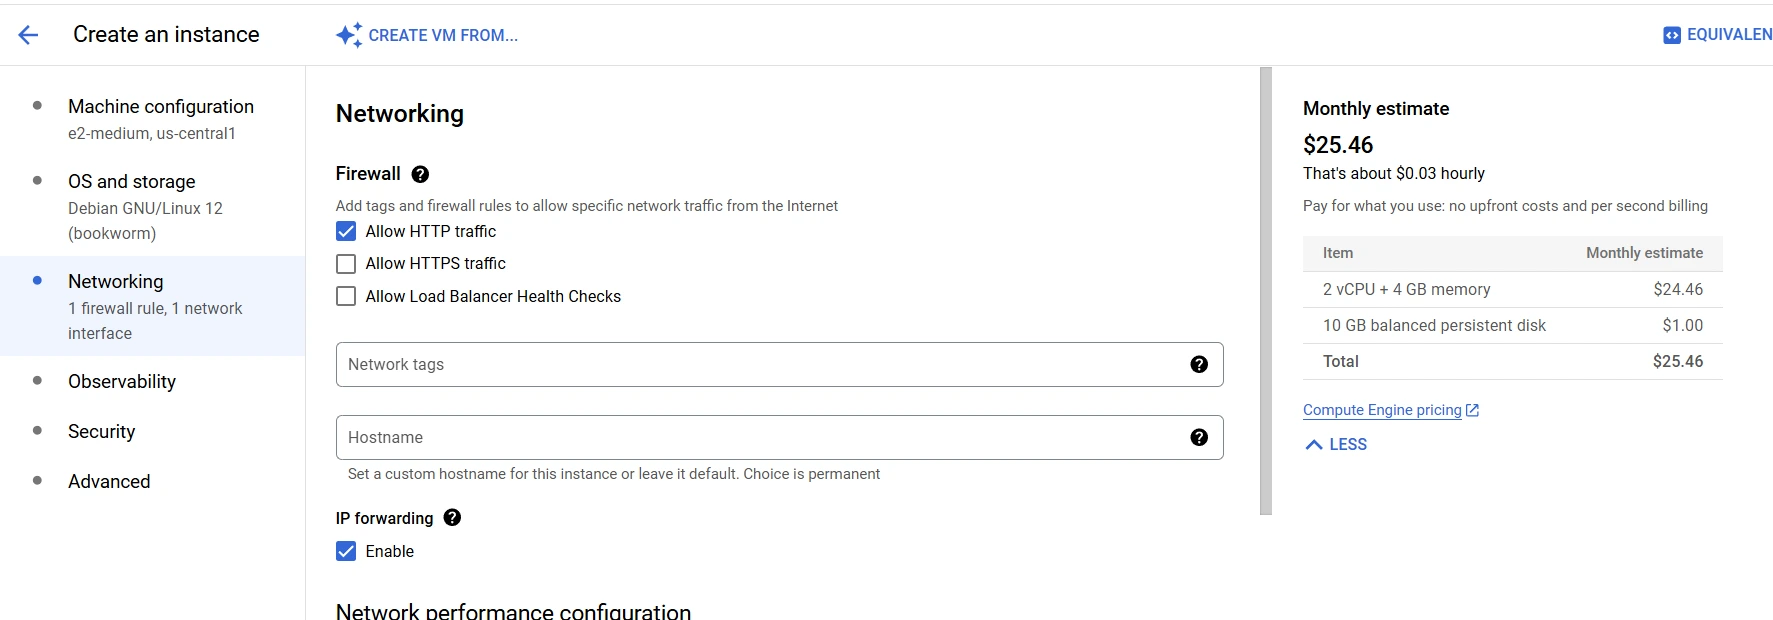
- Under Networking, check Allow HTTP traffic (for web services) and enable IP forwarding (needed for advanced networking setups).
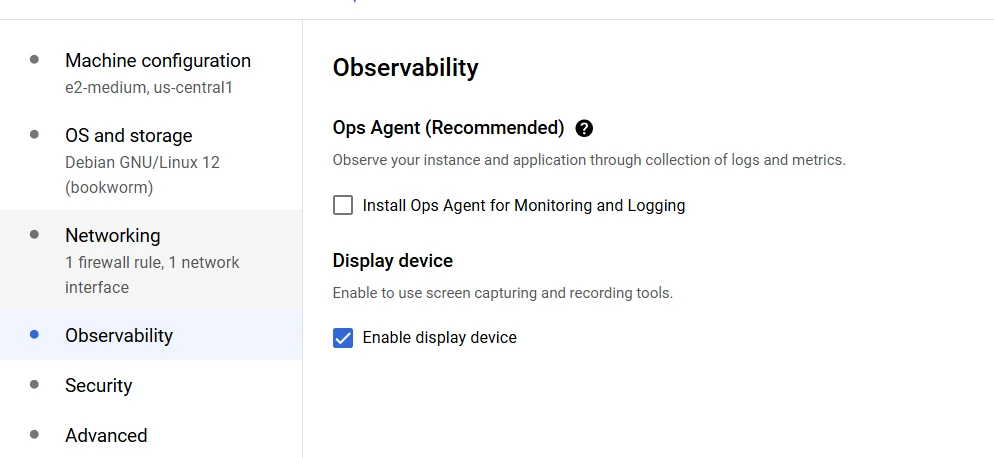
- Under Observability, enable Display Device. This is required for graphical applications like Chrome Remote Desktop.
- Click Create, and your VPS will be ready soon!
SSH into the Instance
Once the instance is up, click on SSH to open a terminal, then switch to root:
1
sudo -i
We switch to root to avoid permission issues while setting up Kali.
Set Up Kali Repositories
Update your package lists:
1
apt update
This ensures your system knows about the latest available packages.
Edit the sources.list file:
1
nano /etc/apt/sources.list
Replace its contents with:
1
deb http://http.kali.org/kali kali-rolling main contrib non-free non-free-firmware
This changes the package repository from Debian (default in GCP) to Kali Linux’s rolling repository, which includes all the latest hacking tools.
Remove the default Debian source list:
1
rm /etc/apt/sources.list.d/debian.source
This prevents conflicts between Debian and Kali repositories.
Now, grab the Kali archive keyring, which is needed for secure package installation:
- Visit: Kali Archive Keyring
- Copy the link for the latest
kali-archive-keyring_202X.1_all.debpackage. - Download it:
1
wget https://kali.download/kali/pool/main/k/kali-archive-keyring/kali-archive-keyring_2024.1_all.deb
- Install it:
1
dpkg -i ./kali-archive-keyring_2024.1_all.deb
This step ensures package authenticity and prevents security issues.
Install Kali Linux and Desktop Environment
Update and upgrade your system:
1
apt update && apt upgrade -y
This refreshes your package lists and upgrades existing software to the latest versions.
Install the full Kali package:
1
sudo apt install -y kali-linux-default
This installs all essential Kali tools for penetration testing and security assessments. (Hit Enter for any prompts.)
Now, install the XFCE desktop environment:
1
sudo apt install -y kali-desktop-xfce
XFCE is lightweight, making it ideal for cloud environments with limited resources.
Reboot the system to apply changes:
1
reboot now
Set Up Chrome Remote Desktop
Once the instance is back online, install necessary packages for desktop functionality:
1
sudo apt install -y desktop-base dbus-x11 xscreensaver
desktop-base: Provides essential desktop environment settings.dbus-x11: Ensures proper communication between system services.xscreensaver: Helps manage the screen lock and session handling.
Configure Chrome Remote Desktop:
1
sudo bash -c 'echo "exec /etc/X11/Xsession /usr/bin/xfce4-session" > /etc/chrome-remote-desktop-session'
This sets Chrome Remote Desktop to start the XFCE session when connecting.
Disable LightDM (since it’s not needed for remote access):
1
sudo systemctl disable lightdm.service
This prevents conflicts between LightDM and Chrome Remote Desktop.
Install Chrome Remote Desktop
- Go to Chrome Remote Desktop.
- Click Set up via SSH → Begin.
- Download Chrome Remote Desktop:
1
wget https://dl.google.com/linux/direct/chrome-remote-desktop_current_amd64.deb
- Install it:
1
sudo apt-get install ./chrome-remote-desktop_current_amd64.deb
This installs the Chrome Remote Desktop host, which allows remote connections. Also, You’ll need to set up a six-digit PIN for secure access.
- Click Next in Chrome Remote Desktop and then Authorize.
- Copy the Debian Linux setup command and paste it into your terminal. This registers your instance with Chrome Remote Desktop.
Set Up User Passwords
Before logging in, set a password for your user and (optionally) root:
1
2
sudo passwd username
sudo passwd root
This is necessary since Google Cloud instances don’t have a default user password.
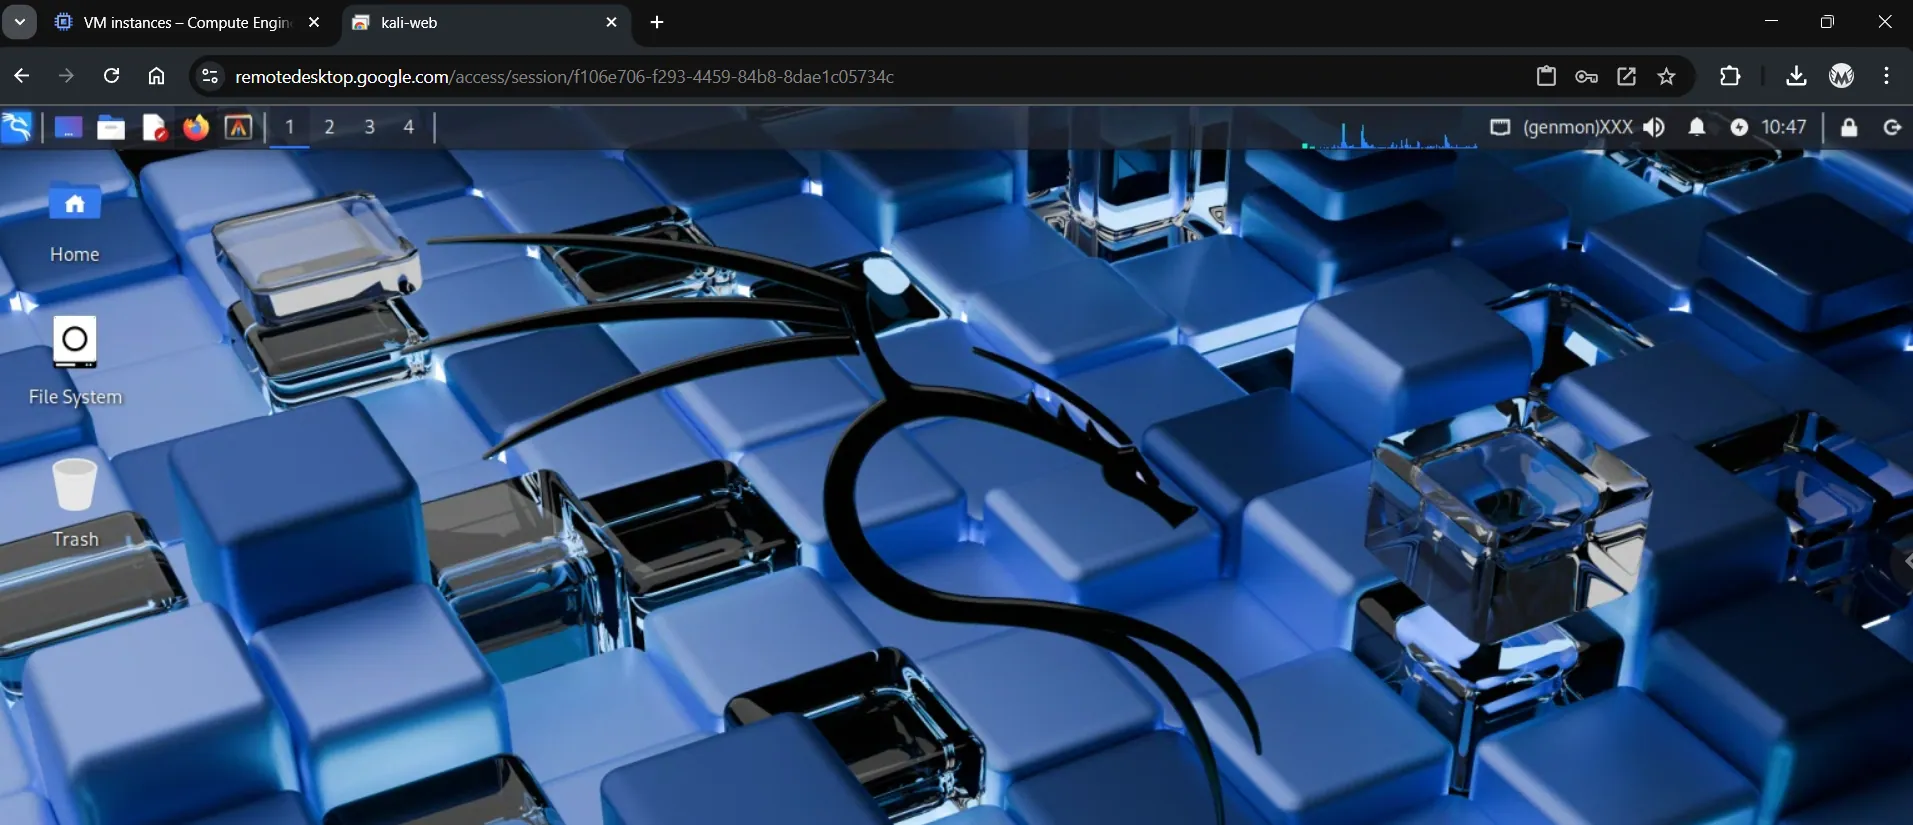
Now, go to the Remote Access section in Chrome Remote Desktop, and you should see your Kali instance ready for connection!
